Introduction:
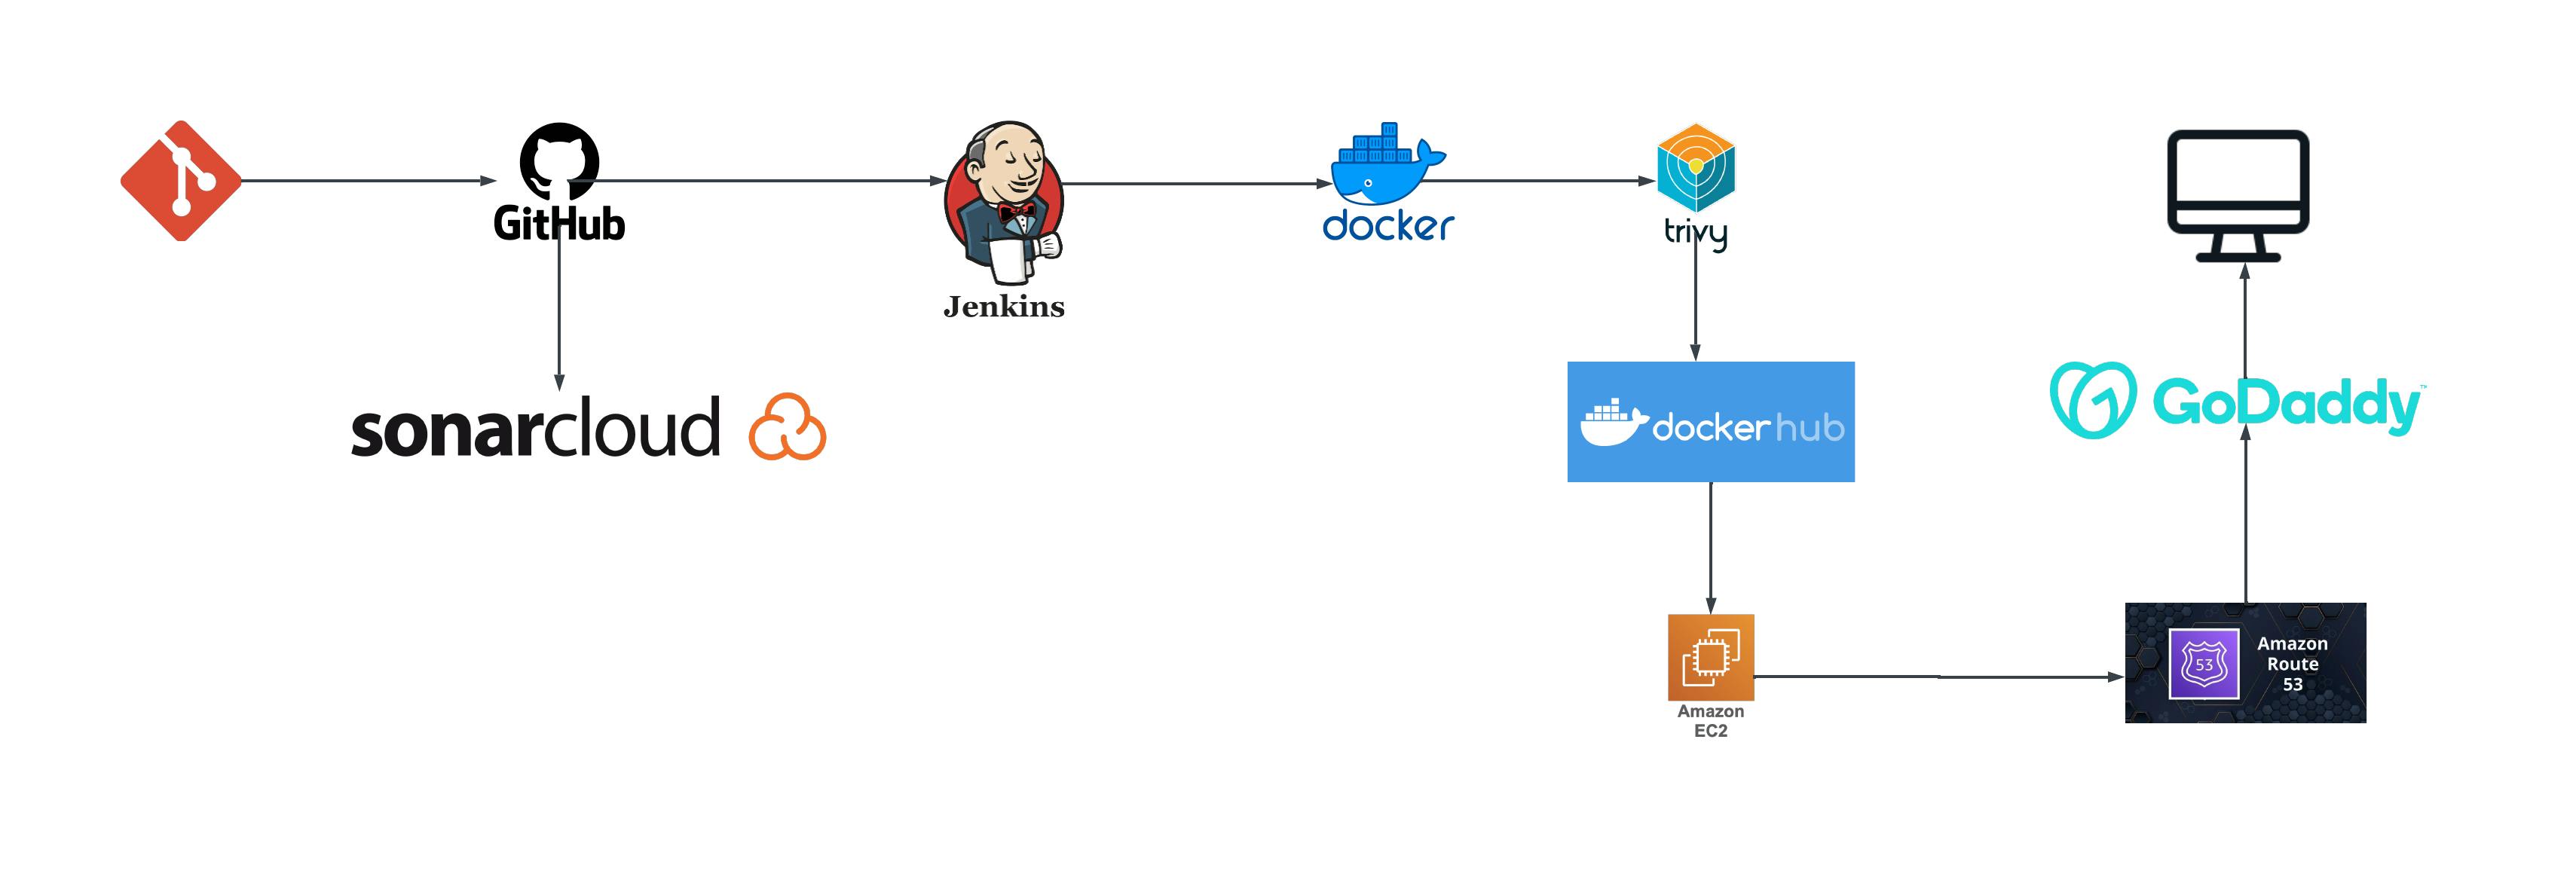
In today's fast-paced world, delivering high-quality software quickly and reliably is crucial. DevOps empowers continuous integration and delivery (CI/CD) pipelines, streamlining the software development lifecycle from code push to production deployment. In this blog post, I'll demonstrate a real-world DevOps project that effectively leverages GitHub, SonarCloud, Jenkins, Trivy, Docker Hub, and EC2 instances for a robust CI/CD pipeline and configuring Route 53 DNS record for our website.
Diagram:
GitHub URL:
My-portfolio-website - https://github.com/Sivaprakash-pk/My-portfolio-website.git
Infrastructure Setup & Project steps :
Step 1: Prepare the AWS Account
Before we dive into setting up the infrastructure, ensure you have the following prerequisites:
- An AWS account with appropriate permissions to create EC2 instances and IAM roles.
Step 2: Create EC2 Instances
Jenkins Server:
Launch an EC2 instance with the Ubuntu AMI.
Install Jenkins, and Docker on the instance following the commands.
sudo apt update
sudo apt install openjdk-17-jre
java –version

curl -fsSL https://pkg.jenkins.io/debian-stable/jenkins.io-2023.key | sudo tee \
  /usr/share/keyrings/jenkins-keyring.asc > /dev/null
echo deb [signed-by=/usr/share/keyrings/jenkins-keyring.asc] \
  https://pkg.jenkins.io/debian-stable binary/ | sudo tee \
  /etc/apt/sources.list.d/jenkins.list > /dev/null
sudo apt-get update
sudo apt-get install jenkins
sudo apt-get install docker.io
- Open port 8080 in the instance's security group to access the Jenkins web interface.
Project Components:
Code Push to GitHub:
The starting point is your local codebase. Using git, you commit and push your changes to a remote GitHub repository.
#Set Up Git Configuration
git config --global user.name "your_username"
git config --global user.email "your_email@example.com"

#Add Your Code to the Repository
git add .

#Commit Your Changes
git commit -m "Your commit message here"

#Push Your Code to GitHub
git push origin main
GitHub Integration with SonarCloud:
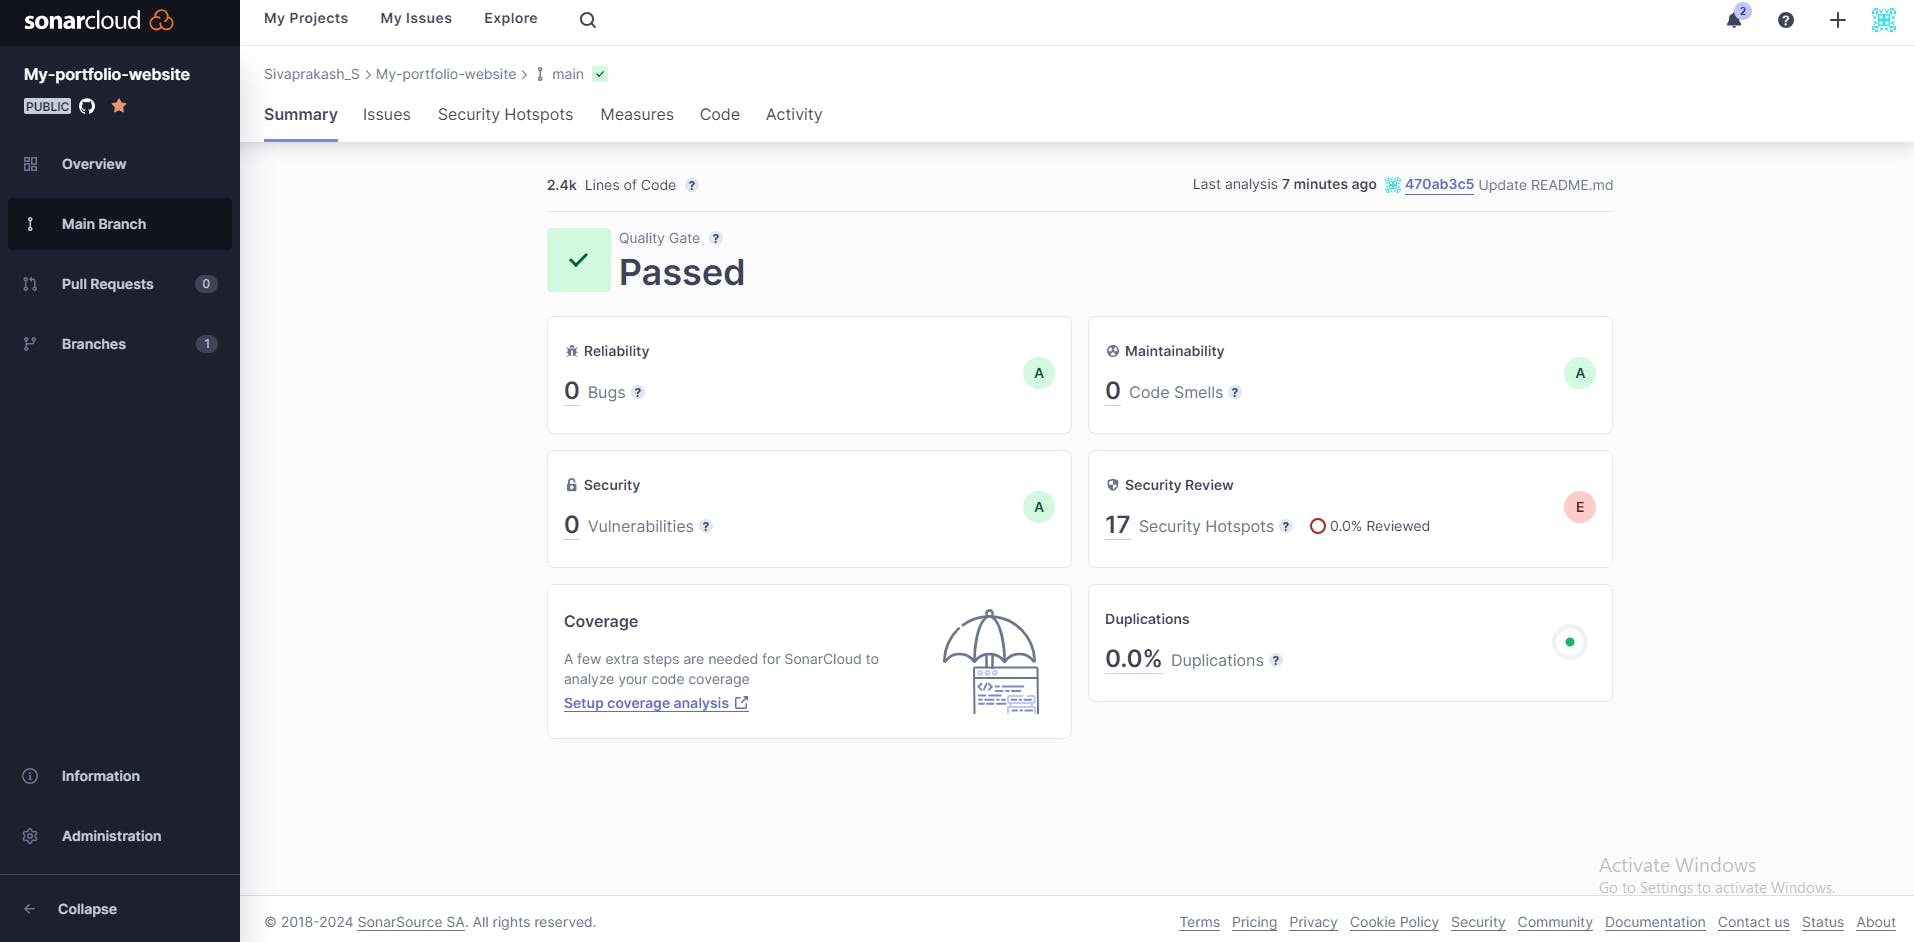
GitHub webhooks trigger automatic code analysis in SonarCloud upon each push. SonarCloud scans your code for potential issues in areas like code quality, security, and maintainability, providing valuable insights and reports.
After signing in to SonarCloud, create a new project for the repository you want to analyze. Choose the relevant programming language and follow the instructions to set up your project.
In your GitHub repository, navigate to the "Settings" tab. Then, click on "Integrations & services" or "Webhooks & services," depending on your GitHub interface. Search for "SonarCloud" and click on the corresponding integration.
Jenkins Pipeline:
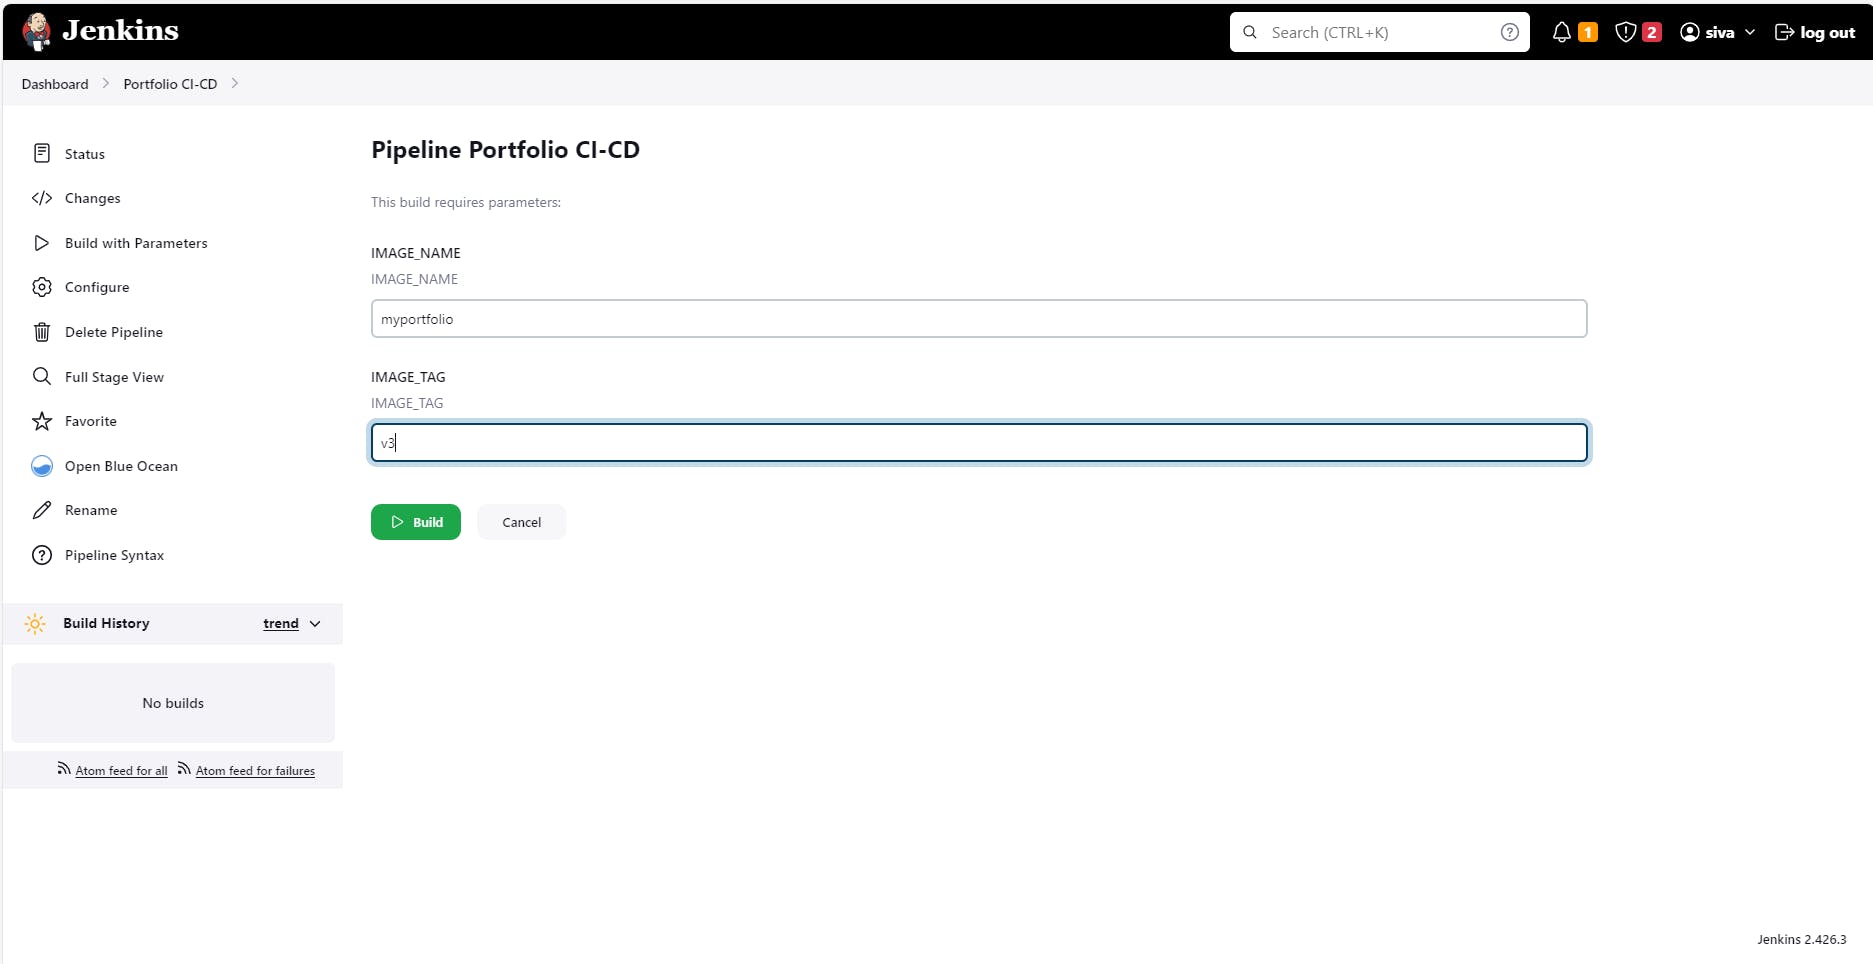
Create a New Jenkins Pipeline Project
In the Jenkins dashboard, click on "New Item" to create a new project.
Provide a name for your project, choose "Pipeline" as the project type, and click "OK."
Scroll down to the "Pipeline" section and select "Pipeline script from SCM" in the "Definition" dropdown.
Create a parameterized project for variables.
Choose the appropriate SCM (Git, SVN, etc.) and provide the repository URL and credentials (if required).
Specify the path to your Jenkinsfile within the repository (e.g., Jenkinsfile if it's at the root).
Click "Save" to create the pipeline project.
Jenkinsfile:
pipeline {
    agent any

    environment {
        DOCKER_HUB_CREDENTIALS = credentials('dockerhub-credentials-id')
    }

    stages {
        stage('Checkout') {
            steps {
                cleanWs()
                // Checkout your code from the 'main' branch in version control
                git branch: 'main', url: 'https://github.com/Sivaprakash-pk/My-portfolio-website.git'
            }
        }

        stage('Build Docker Image') {
            steps {
                script {
                    // Build Docker image using Dockerfile
                    docker.build("${params.IMAGE_NAME}:${params.IMAGE_TAG}")
                }
            }
        }

        stage('Scan Docker Image with Trivy') {
            steps {
                script {
                    sh "trivy image ${params.IMAGE_NAME}:${params.IMAGE_TAG} --format json -o trivy-results.json"
                }
            }
        }
        stage('Push Docker Image to DockerHub') {
            steps {
                withCredentials([usernamePassword(credentialsId: 'dockerhub-credentials-id', passwordVariable: 'dockerHubpasswd', usernameVariable: 'dockerHubuser')]) {
                    sh "echo \"\$dockerHubpasswd\" | docker login -u \"\$dockerHubuser\" --password-stdin"
                    sh "docker tag ${params.IMAGE_NAME}:${params.IMAGE_TAG} sivaprakash1998/${params.IMAGE_NAME}:${params.IMAGE_TAG}"
                    sh "docker push sivaprakash1998/${params.IMAGE_NAME}:${params.IMAGE_TAG}"
                    sh "docker logout"
                }
            }
        }
        stage('Run the Docker image on EC2') {
            steps {
                script {
                    sh "docker rm -f portfolio"
                    sh "docker run -dit -p 80:80 --name portfolio ${params.IMAGE_NAME}:${params.IMAGE_TAG}"
                }
            }
        }
    }

    post {
        always {
            // Clean up by removing the Docker image locally
            sh "docker rmi -f ${params.IMAGE_NAME}:${params.IMAGE_TAG}"
            sh "docker rmi -f sivaprakash1998/${params.IMAGE_NAME}:${params.IMAGE_TAG}"
        }
    }
}
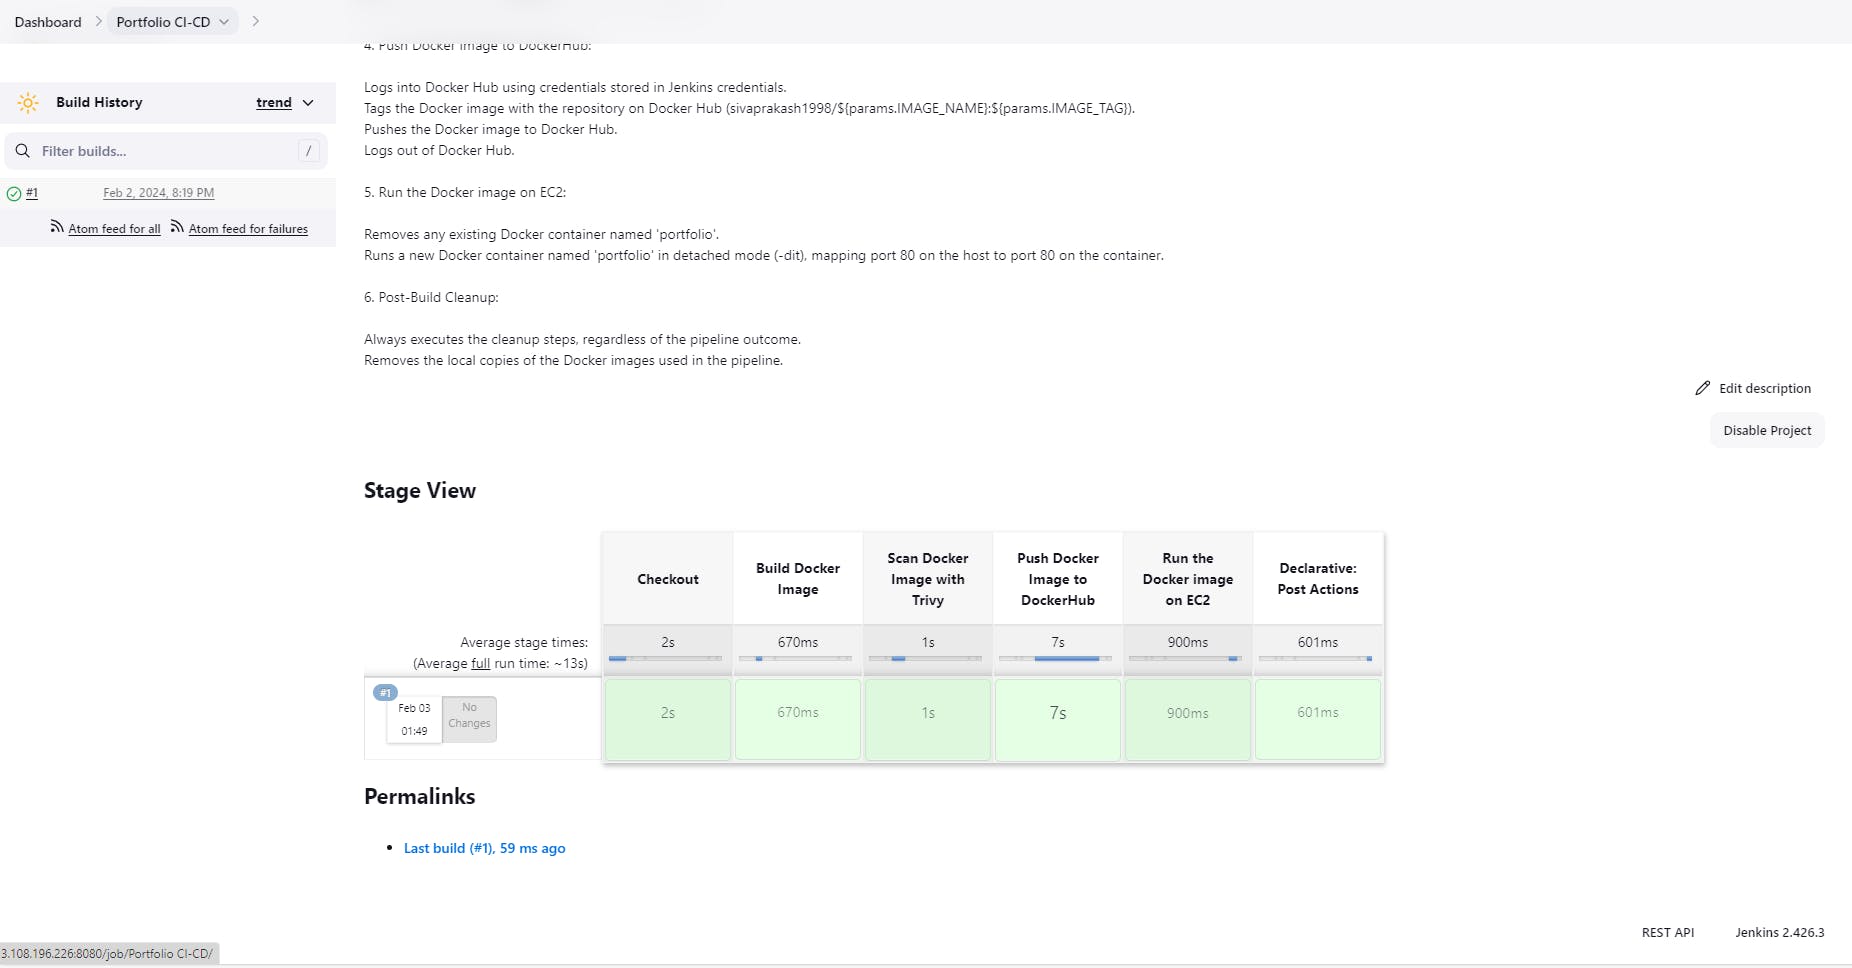
As the heart of the CI/CD pipeline, Jenkins fetches code from GitHub upon changes. The pipeline stages are structured as follows:
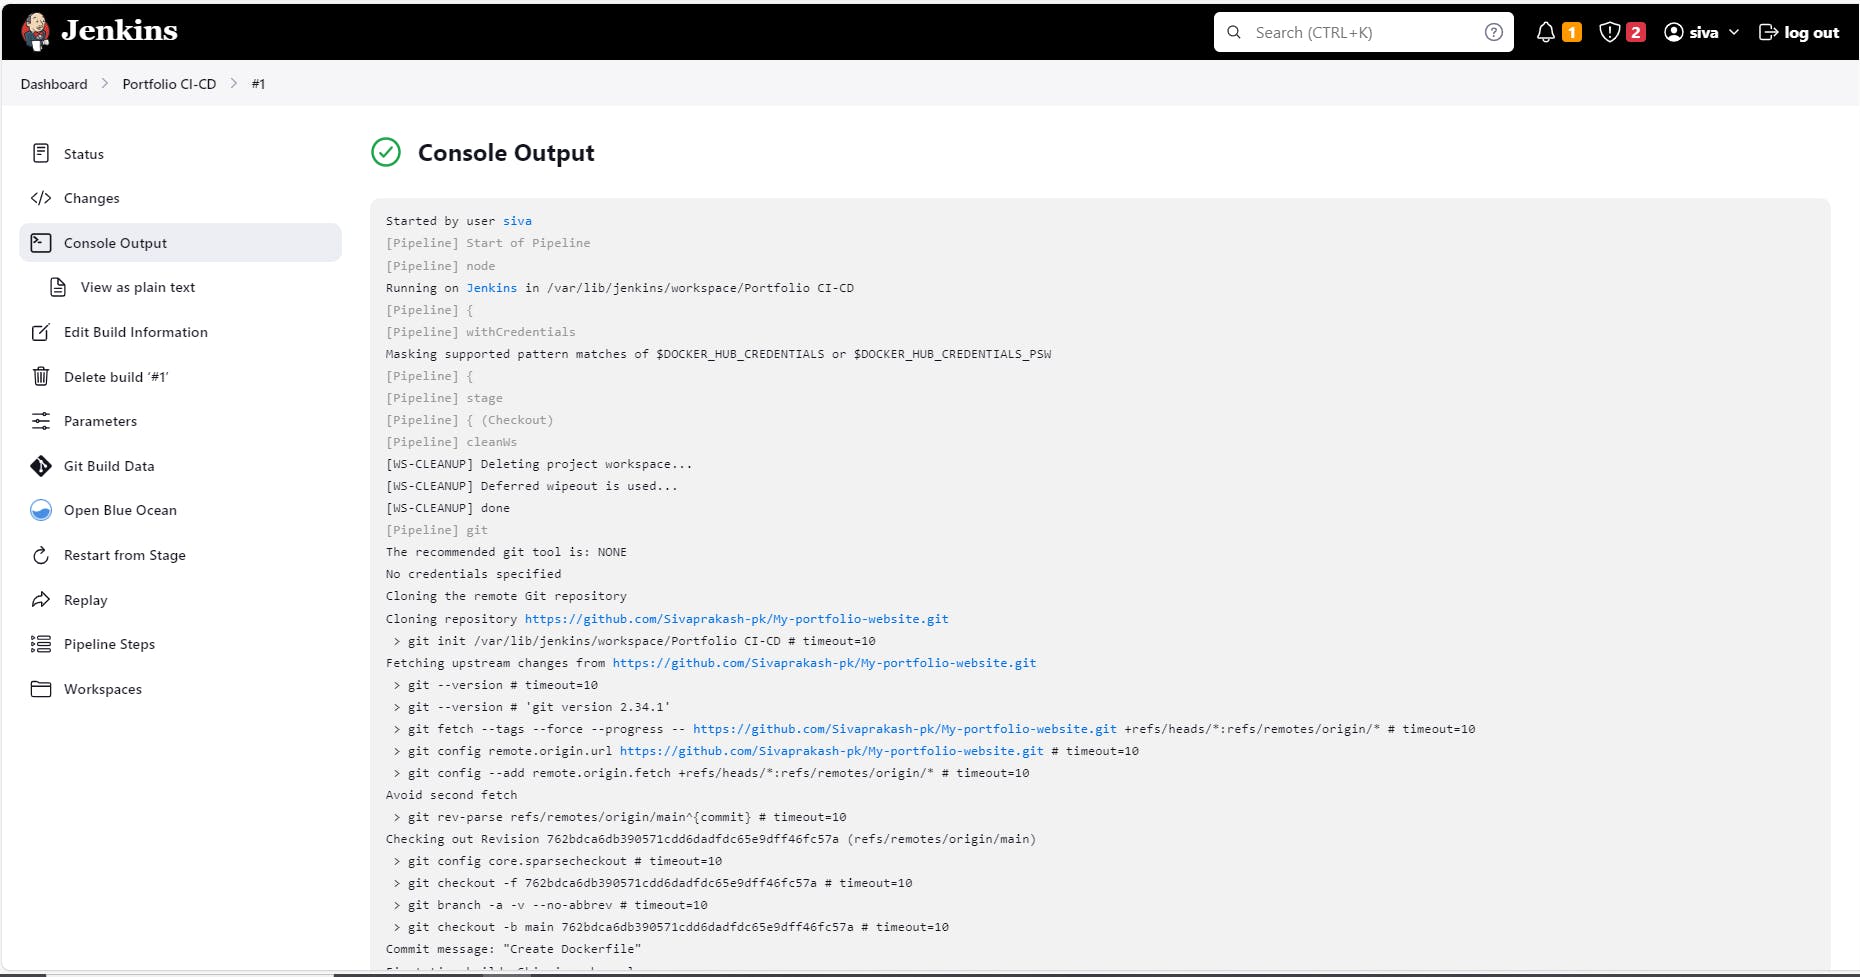
Checkout Code:
Jenkins retrieves the latest code from your GitHub repository using the Git SCM plugin.
Build Nginx Docker Image:
Leverages the Docker plugin to build an Nginx Docker image, encapsulating your application in a standardized container environment.
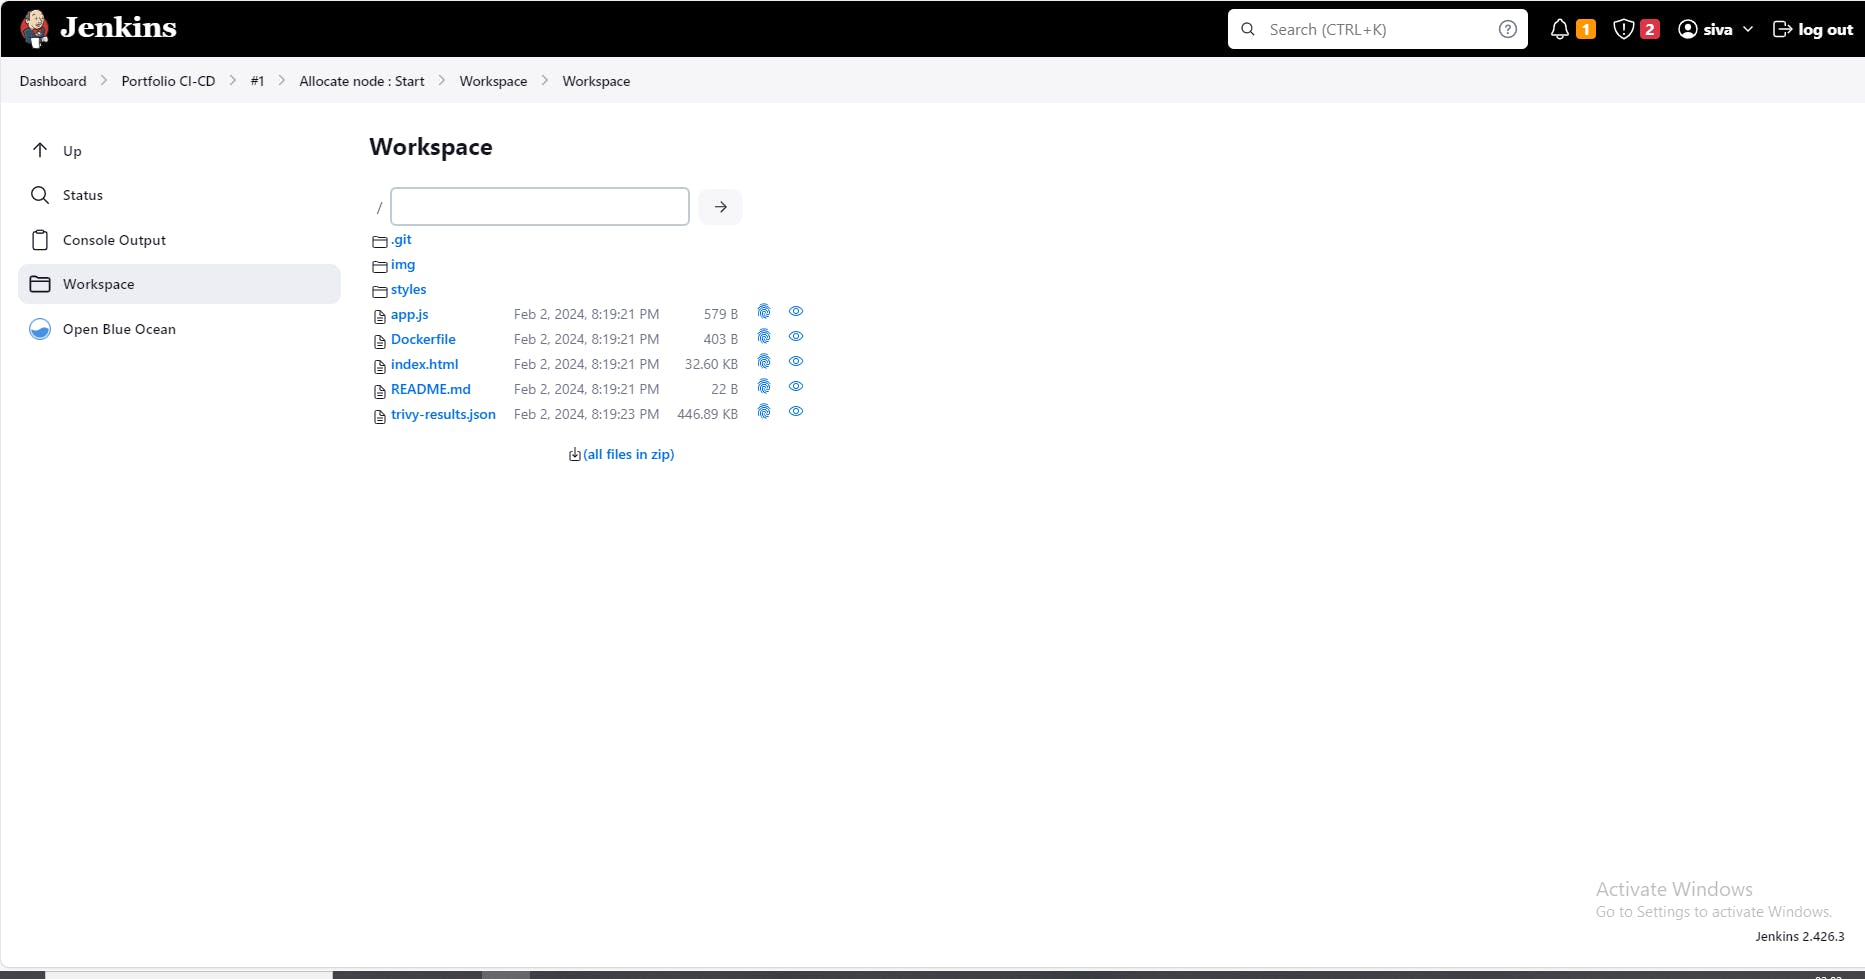
Scan Docker Image with Trivy:
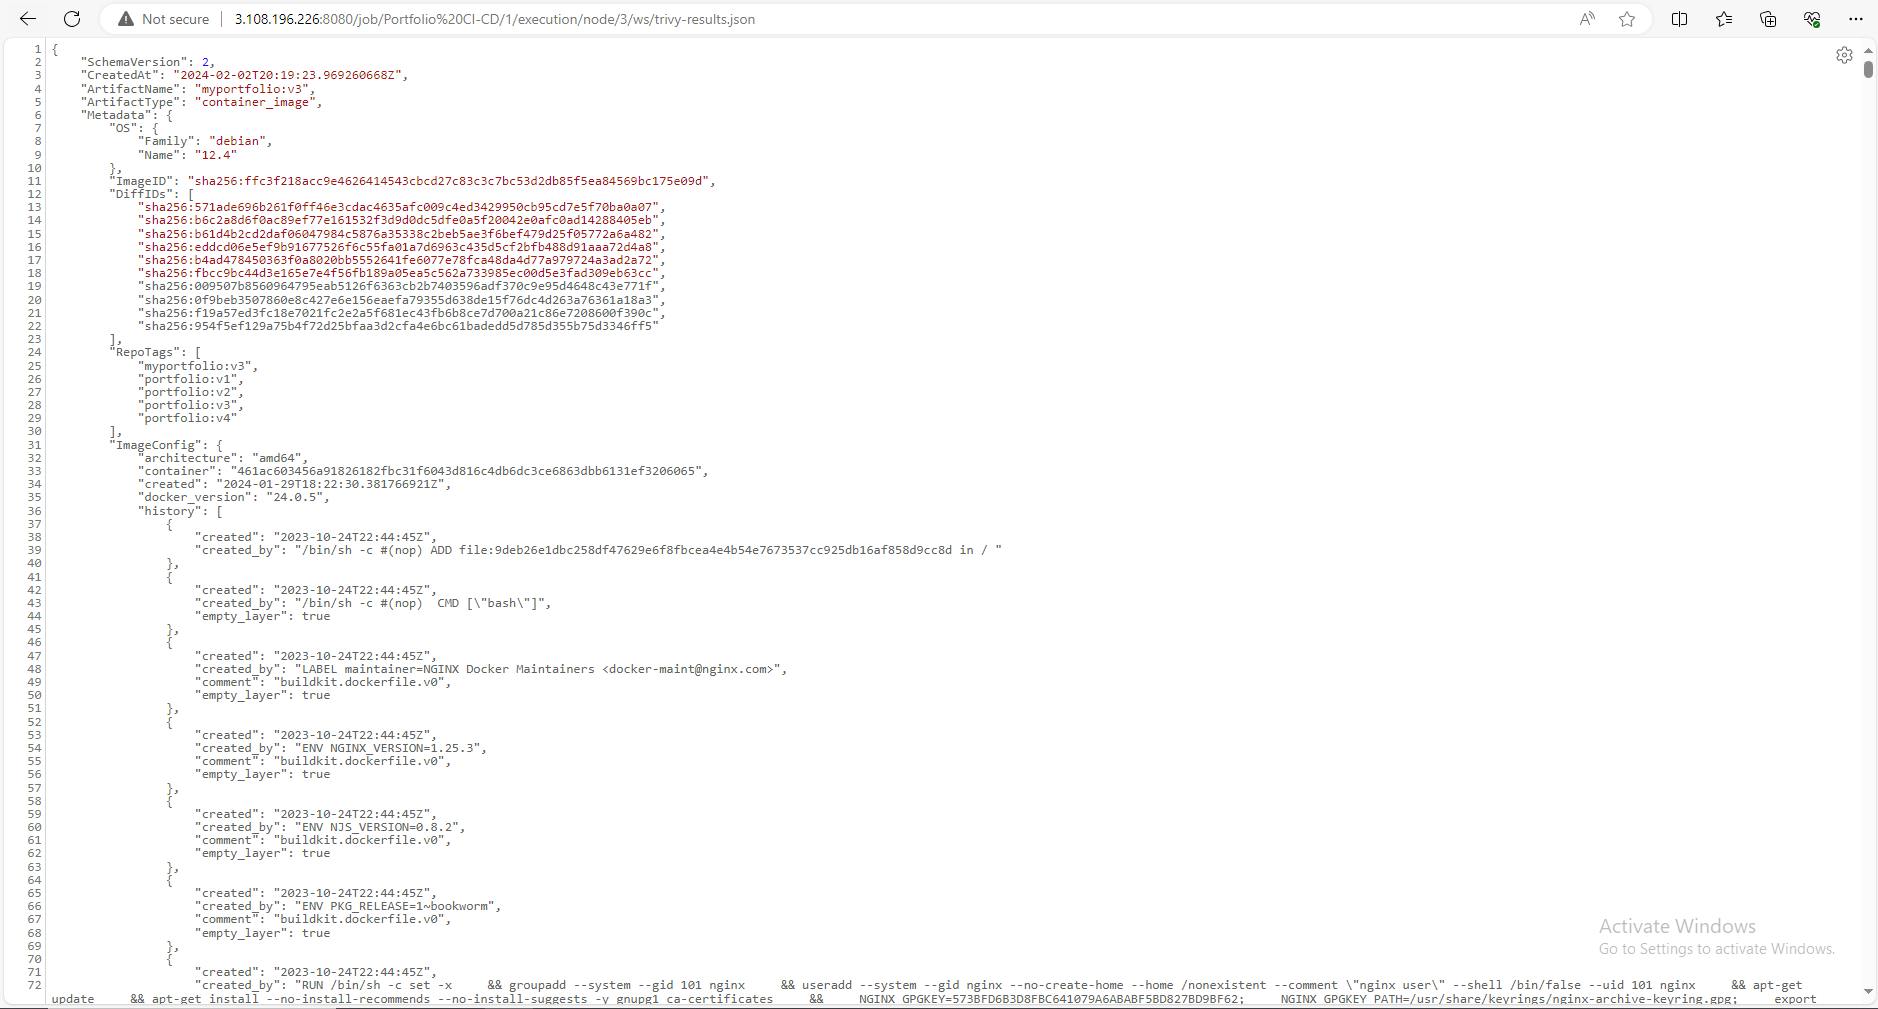
Utilizes the Trivy plugin to scan the built image for vulnerabilities, ensuring security compliance and reducing potential risks.
Push Docker Image to Docker Hub:
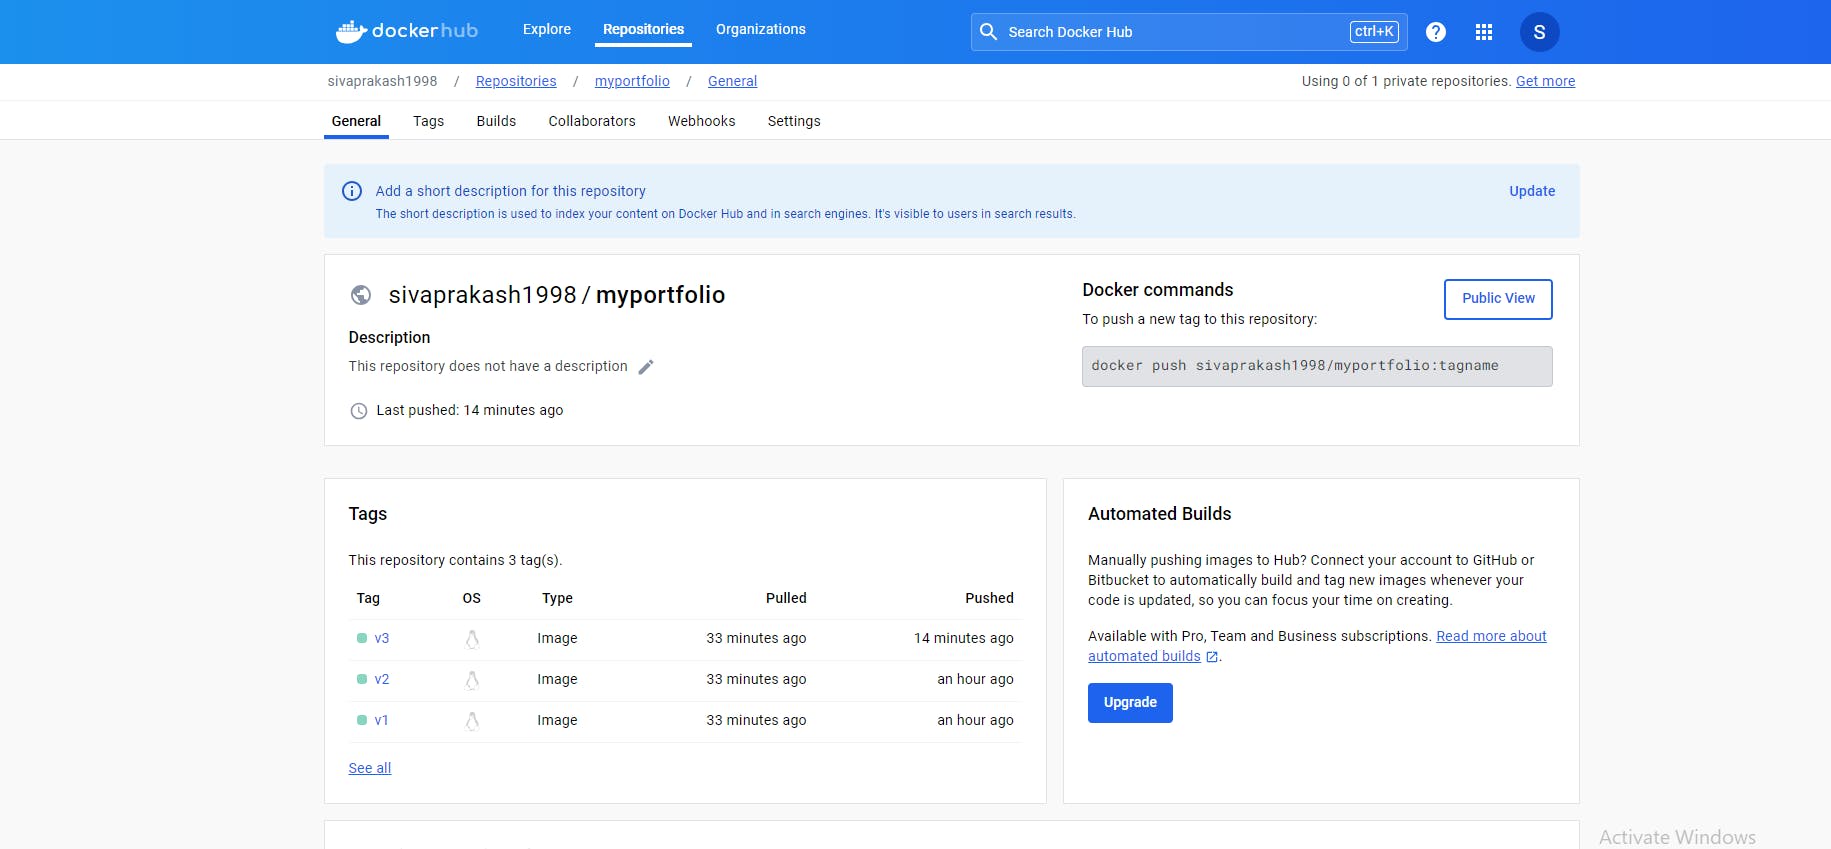
Upon successful building and scanning, the image is pushed to Docker Hub for easy access and sharing.
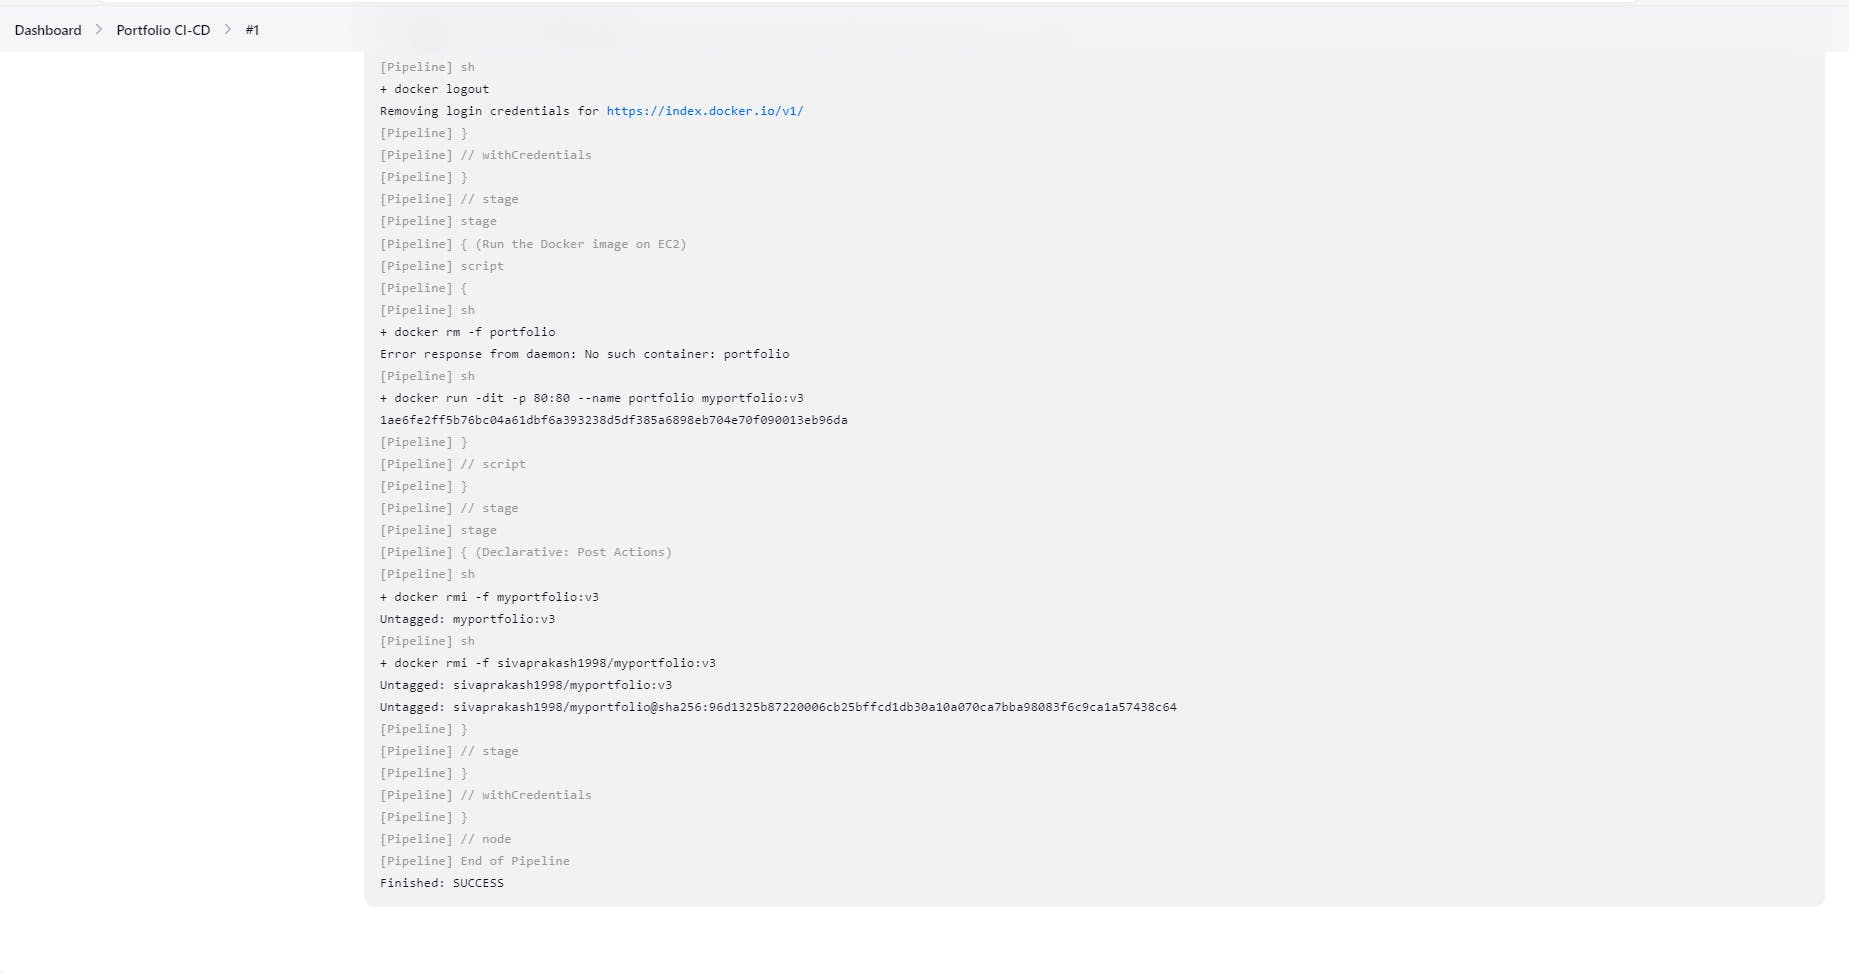
Run Container on EC2 Instance:
The AWS plugin enables the deployment of the containerized application to an EC2 instance, bringing your app to life in the cloud.
Post-Pipeline Cleanup:
To optimize resource utilization, the pipeline can be configured to delete built Docker images after successful deployment, using plugins like "Discard Old Builds" or custom scripts.

Creating Route 53 record for the website
Select your domain name and click "Go To Record Sets".
Click "Create Record Set".
Leave Name empty.
For Type, select the type of record you want to create.
Add the necessary values for the record.
Click "Create" to save the record.

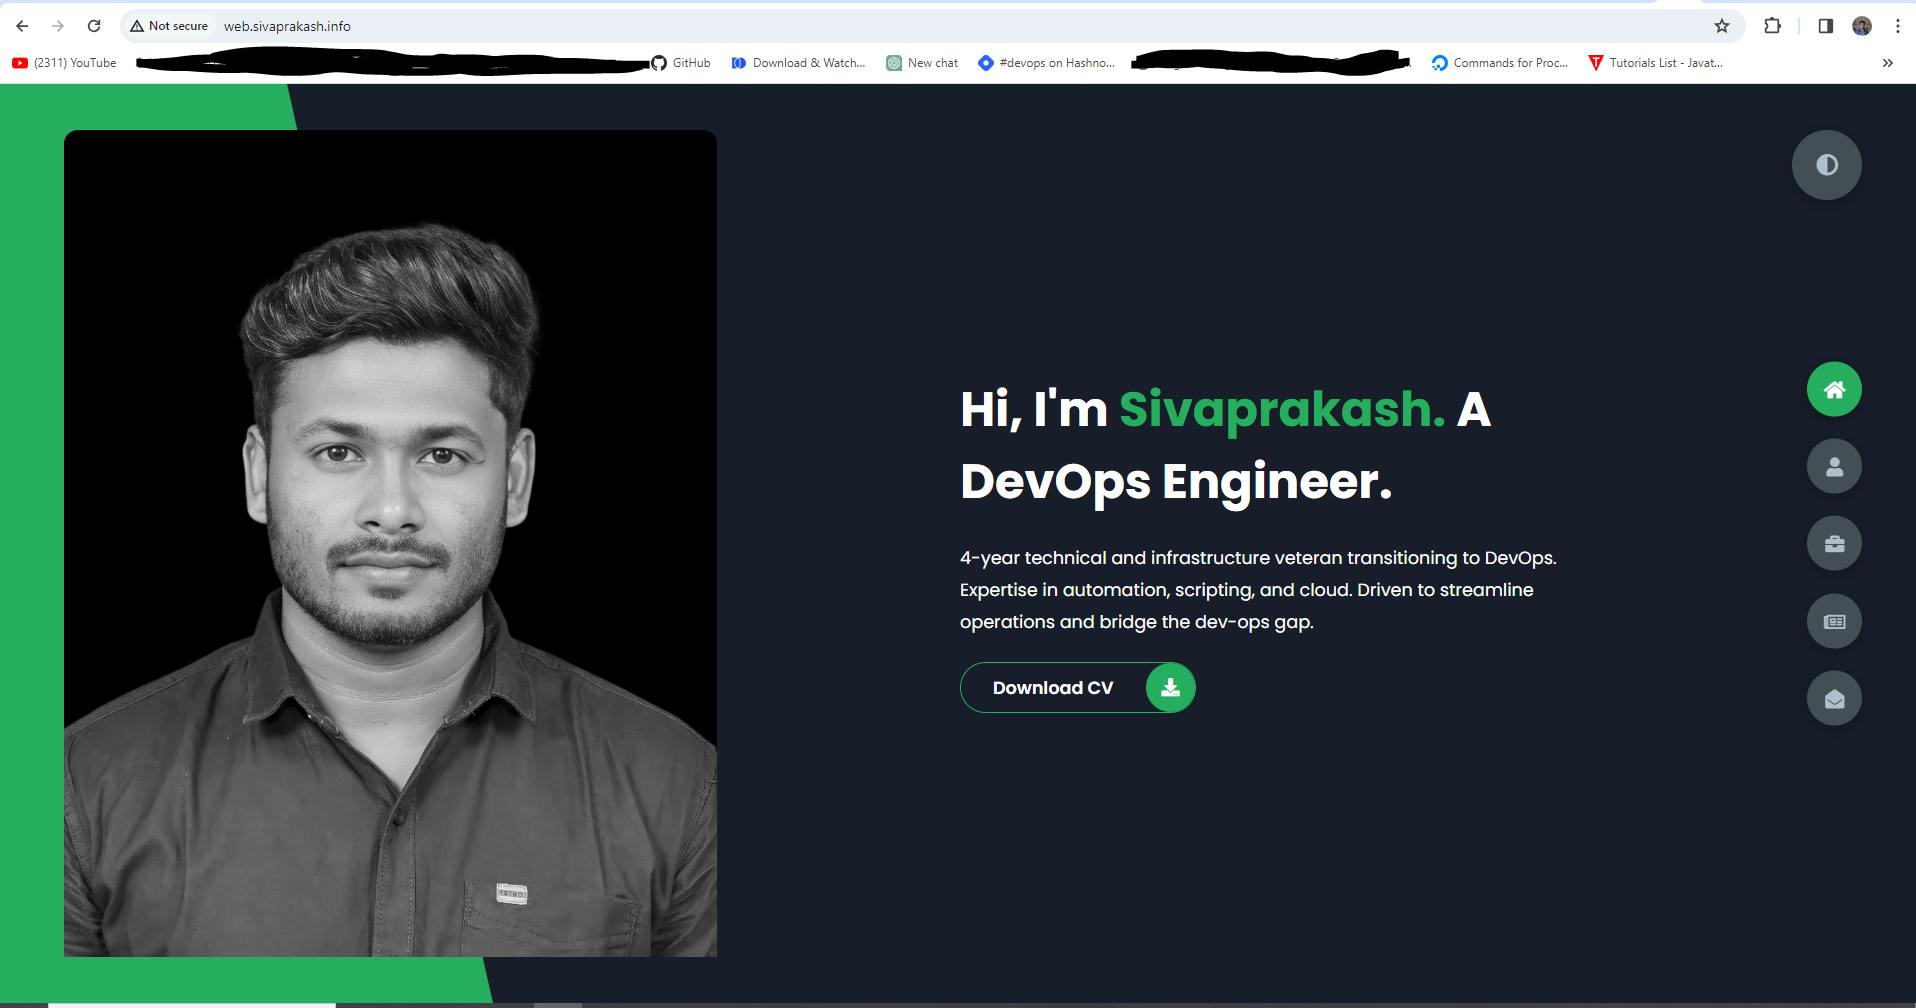
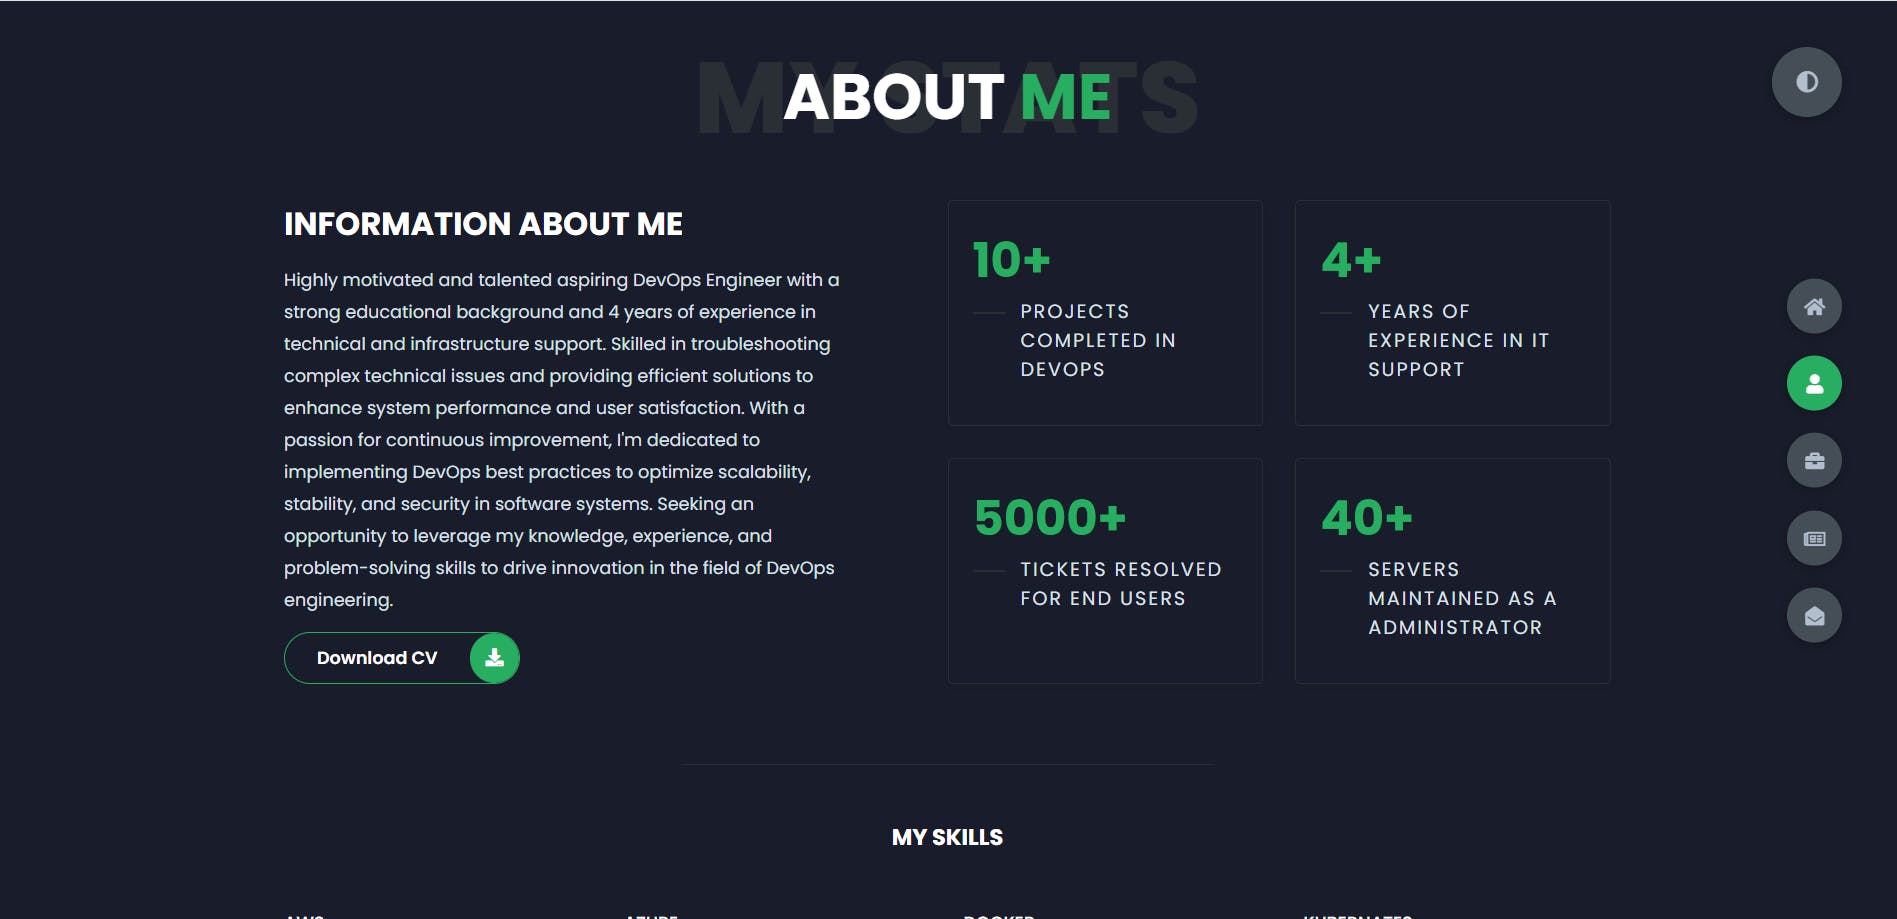
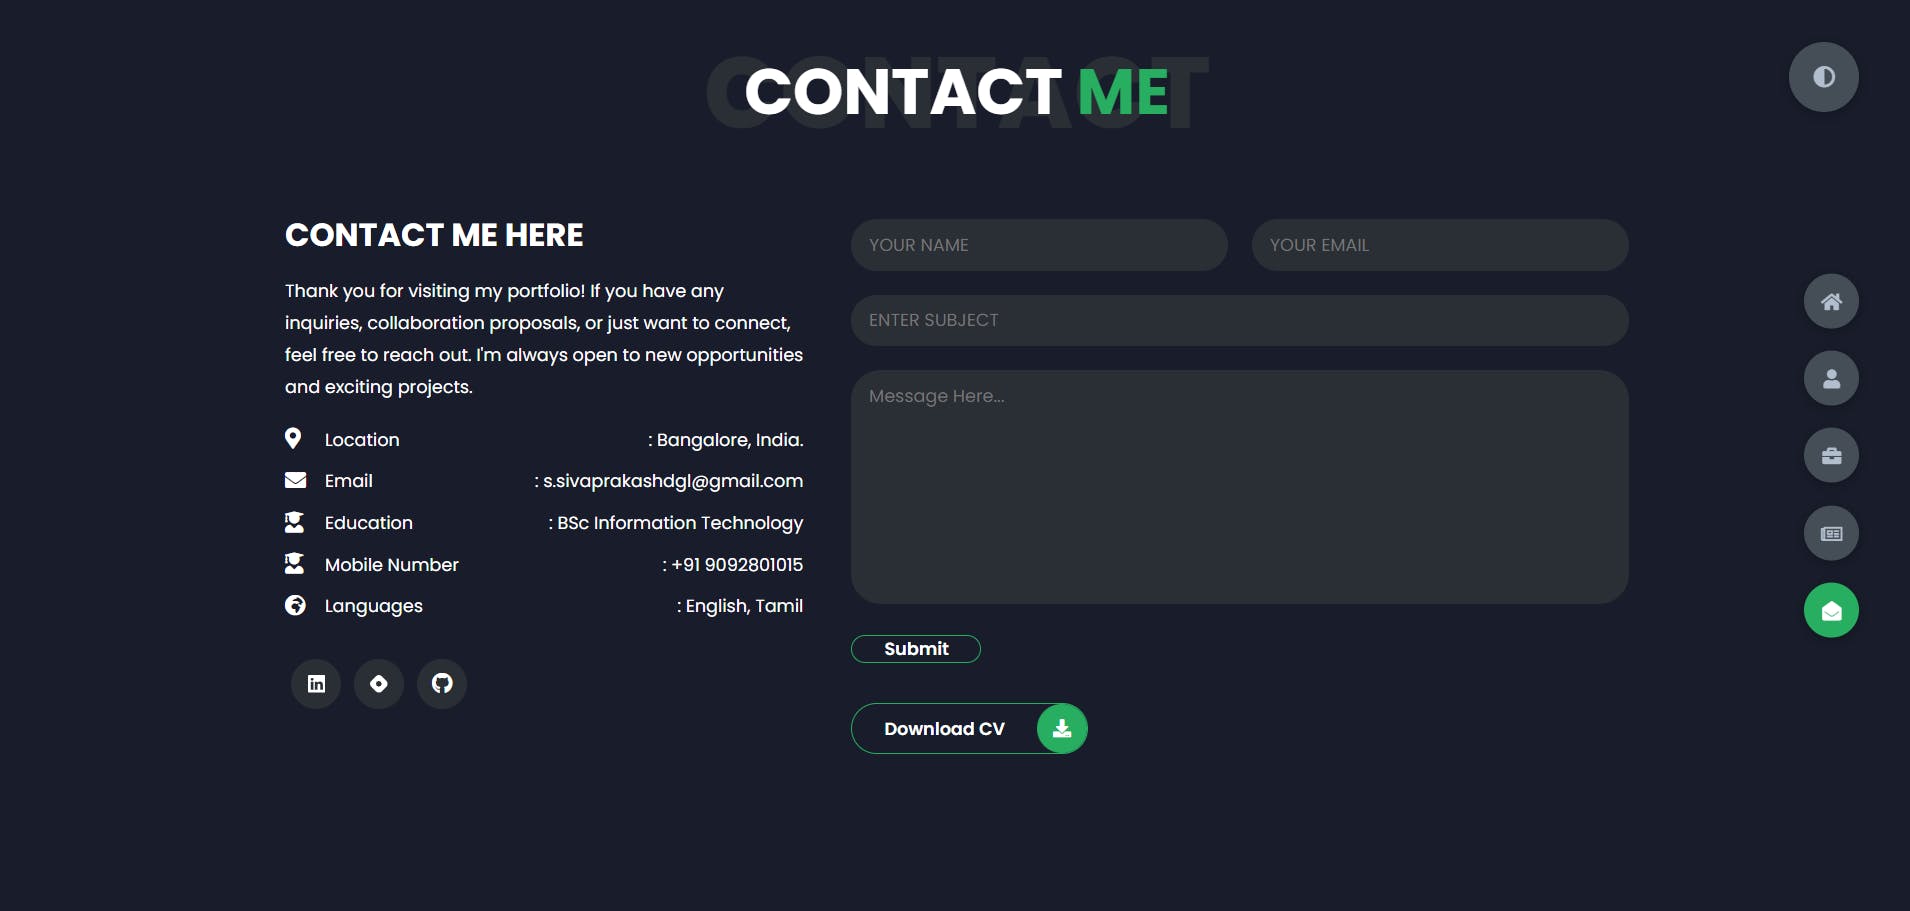
Output:
Benefits and Key Learnings:
Enhanced Quality and Security:
SonarCloud and Trivy ensure code quality and security checks are integrated into the workflow, fostering a safer and more maintainable codebase.
Automated Deployment:
The pipeline handles deployments automatically, reducing manual intervention and ensuring consistency.
Cloud Integration:
Docker Hub and EC2 integration enable seamless hosting and deployment in the cloud environment.
Continuous Feedback:
SonarCloud reports provide ongoing feedback, driving continuous improvement in code quality.
Conclusion:
This automation-driven DevOps pipeline demonstrates the power of continuous integration and delivery, fostering efficiency, quality, and security in the software development process. By showcasing your skillset with these tools, you can effectively present your DevOps expertise to potential employers or clients.
Let's learn together! I appreciate any comments or suggestions you may have to improve my learning and blog content.
Thank you,
Sivaprakash S
#CI/CD #DevOps #Docker #DockerHub #Portfoliowebsite #trivy #CodeQuality #ContinuousDeployment #Automation #sonarcloud #SoftwareDevelopment #Containerization #DeploymentPipeline #CodeScanning #Portfolio #DockerHub #GitHub #ApplicationDeployment #DeploymentAutomation #SoftwareDelivery #DevOpsJourney #AgileDevelopment #jenkins #dockerscan
